3.9 KiB
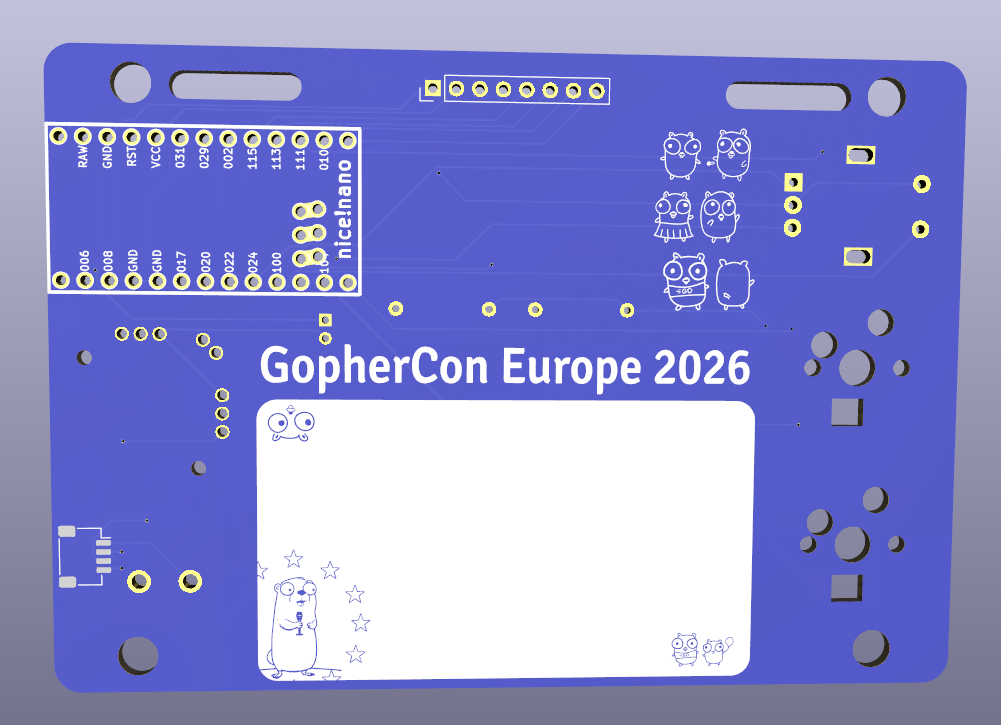
NiceBadge
NiceBadge is an electronic conference badge and a hands-on platform for learning TinyGo programming.
Whether you are attending a conference or just getting started with embedded development, NiceBadge gives you a real piece of hardware to hack on, complete with a ready-to-use firmware, step-by-step tutorials, and progressively more advanced examples that unlock every capability of the board.
Features
| Peripheral | Details |
|---|---|
| Color display | Compact full-color screen (FJ08K-S), ST7789 driver |
| Buttons | 2 Cherry MX hot-swap mechanical switches |
| Joystick | Alps EC11E rotary encoder with push switch |
| RGB LEDs | 2 × SK6812MINI-E addressable LEDs, WS2812 driver |
| StemmQT connector | JST SH 4-pin for I2C expansion modules |
| Buzzer | 5.5 mm passive buzzer for audio feedback |
| Bluetooth | BLE via the nRF52840 on the nice!nano |
| USB HID | Acts as a keyboard/mouse over USB thanks to the nice!nano |
| Battery | Onboard battery cell header (2-pin 2.00 mm) |
The microcontroller is the nice!nano (nRF52840), which is fully supported by TinyGo and exposes both USB HID and Bluetooth HID out of the box.
Repository layout
nicebadge/
├── hardware/          # KiCad PCB design files
│   └── PCB-kicad/
│       └── production/  # Gerbers, BOM, pick-and-place files
└── tutorials/         # Step-by-step examples (coming soon)
Firmware
NiceBadge ships two ready-to-use firmwares:
Demo firmware (conference)
A showcase firmware that demonstrates all badge peripherals — LEDs, display, buttons, joystick, buzzer, and BLE. Ideal for conferences and as a starting point for your own experiments.
Repository: code.madriguera.me/GoEducation/badges
HID firmware
Turns the badge into a fully functional USB/Bluetooth keyboard. Built on top of sago35/keyboards, a TinyGo framework for custom keyboards.
Repository: github.com/sago35/keyboards
Getting started
Prerequisites
- TinyGo ≥ 0.32
- Go ≥ 1.22
- A NiceBadge board (see hardware section below) or a compatible nice!nano dev board
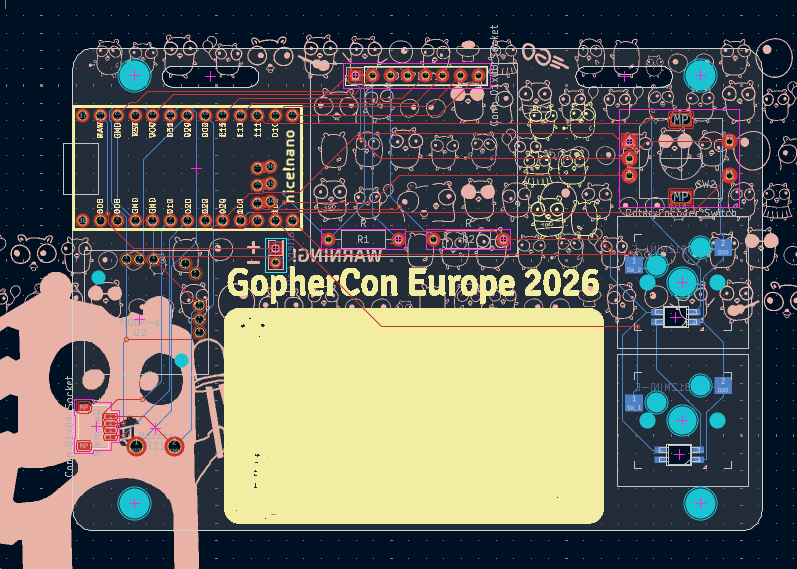
Hardware
All design files are located in hardware/PCB-kicad/. Production files (Gerbers, BOM, positions) ready for fabrication are in hardware/PCB-kicad/production/.
Bill of Materials
| Designator | Value / Part | Footprint | Qty |
|---|---|---|---|
| BT1 | Battery Cell | PinHeader 2×01 P2.00 mm Vertical | 1 |
| BZ1 | Buzzer | Buzzer 5.5 mm | 1 |
| DISPLAY1 | Display connector | PinHeader 1×08 P2.54 mm Vertical | 1 |
| H1, H2, H3, H4 | Mounting Hole | M2 | 4 |
| LED1, LED2 | YS-SK6812MINI-E | SK6812MINI-E | 2 |
| R1, R2 | Resistor | Axial DIN0207 L6.3 mm D2.5 mm P10.16 mm | 2 |
| STEMMAQT1 | StemmQT connector | JST SH SM04B-SRSS-TB 1×04 P1.00 mm | 1 |
| SW1, SW2B1 | Push switch | Cherry MX Hot-swap | 2 |
| SW2 | Rotary Encoder + Switch | Alps EC11E Vertical H20 mm | 1 |
| SW2B, SW2C | Key switch | Strap hole | 2 |
| U1 | nice!nano | nice_nano | 1 |
| U2 | FJ08K-S | FJ08K-S | 1 |
Tutorials & examples
The tutorial series walks you through every peripheral of the badge, starting from blinking an LED and ending with a Bluetooth HID device:
- Hello, Badge! — blink the RGB LEDs
- Drawing on the display — TinyGo + TinyDraw
- Reading buttons and the joystick
- Playing sounds with the buzzer
- I2C expansion via StemmQT
- Going wireless — BLE advertisements and GATT services
- USB HID — turn the badge into a keyboard
(Tutorials are coming soon — contributions welcome!)
License
See LICENSE.